 Transferring Data in Research Drive
Overview
This is the Transferring Data page, part of VU Tools → Research Drive in the A-LIFE RDM collection.
This page covers four ways to access and transfer data in your Research Drive project space:
- Using the Research Drive Web Interface
- Using Cyberduck to connect to Research Drive
- Using the OwnCloud desktop synchronisation client
- Using Rclone with Research Drive
Supporting materials: Manuals
Authors: Irene Martorelli, Brett Olivier — Last modification: 2026-08-02 — Version: 0.8.0
 1. Using the Research Drive Web Interface
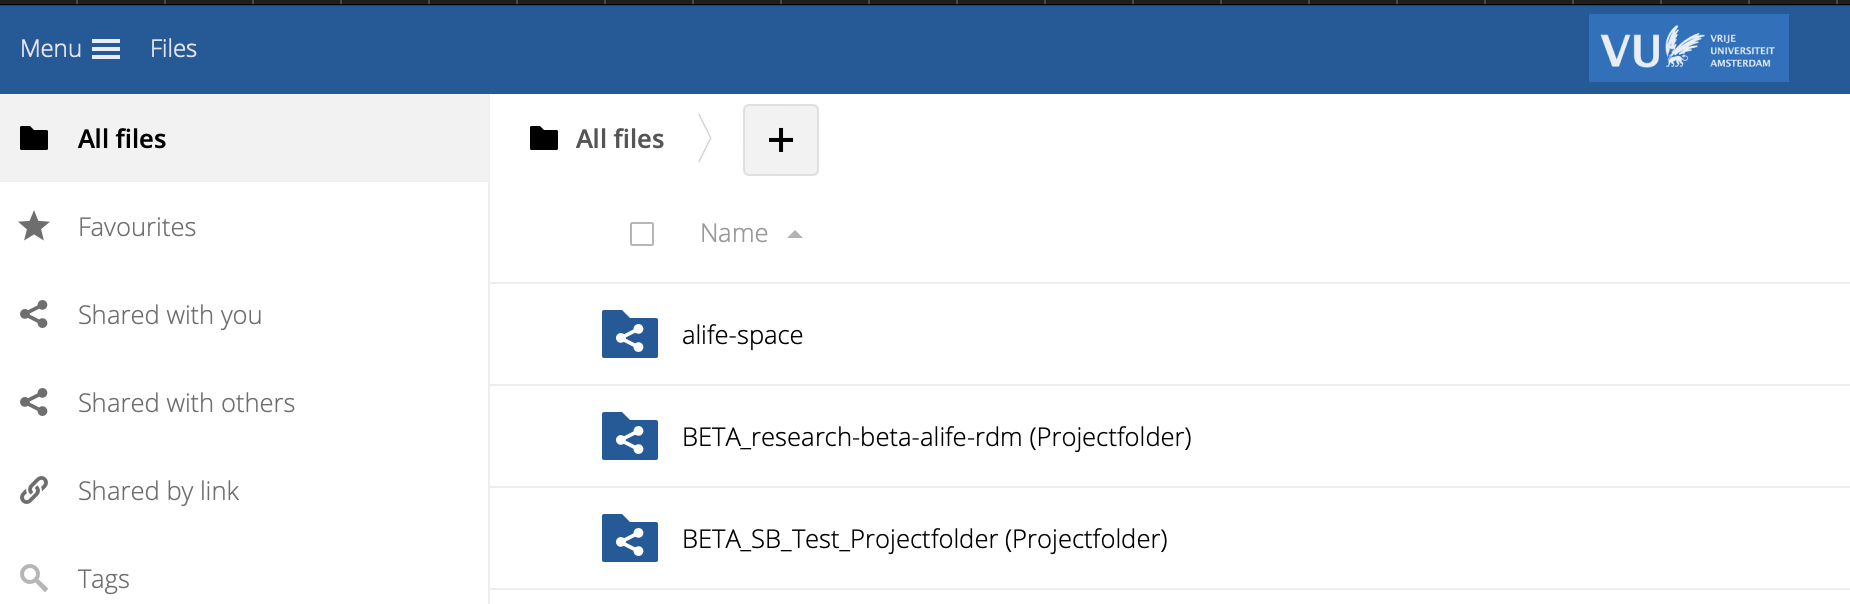
A-LIFE domain for Research Drive
A-LIFE is part of Faculteit der Bètawetenschappen (BETA). When a space in Research Drive is created for you, the prefix BETA_ is added to your project name.
For example, if the name of the project that you provided during the Request Research Drive form is microbial-communities, then you will see the folder BETA_microbial-communities in the Research Drive Research Space.
The easiest way to access and view your space is via the web browser interface.
1a. Login to Research Drive
If you have requested a Research Drive research space, or you have been added as a member to an existing space, you have access to the space. Login via: https://vu.data.surfsara.nl
1b. Create folders and share your data
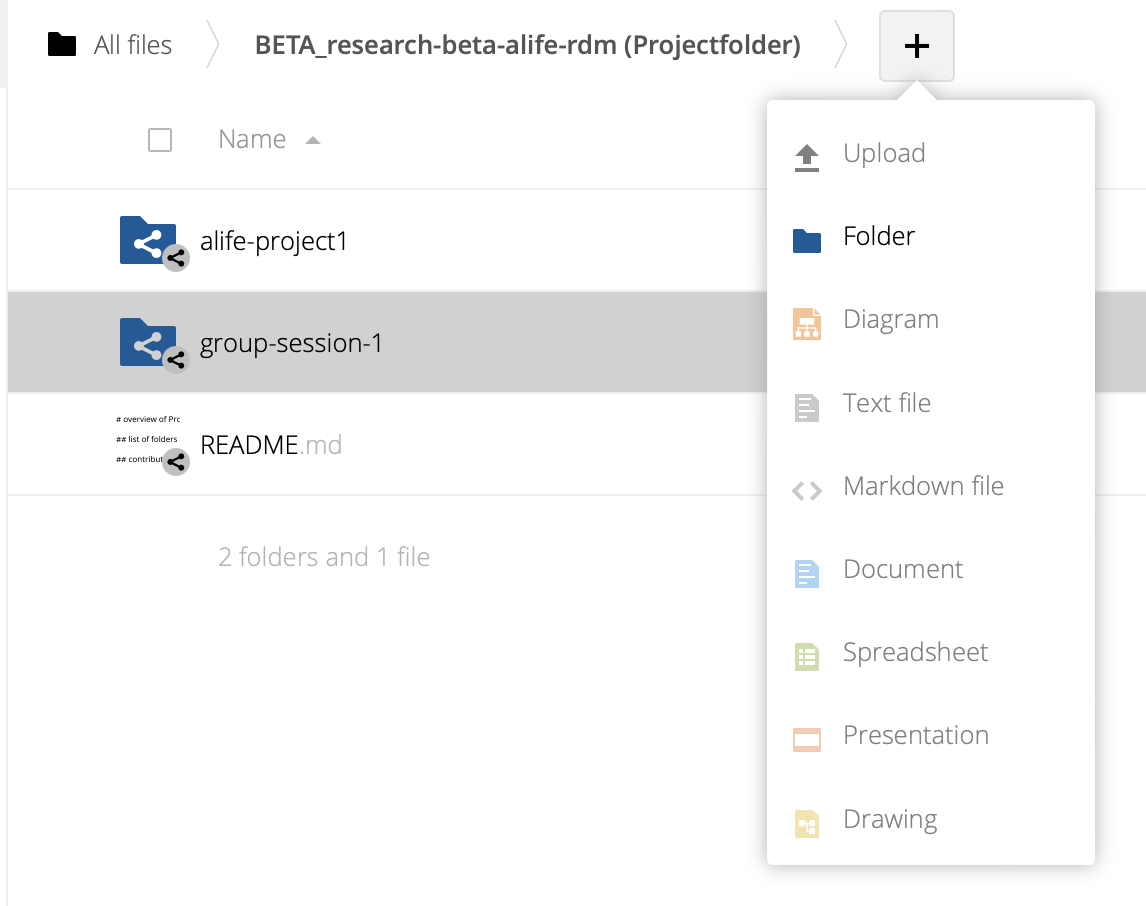
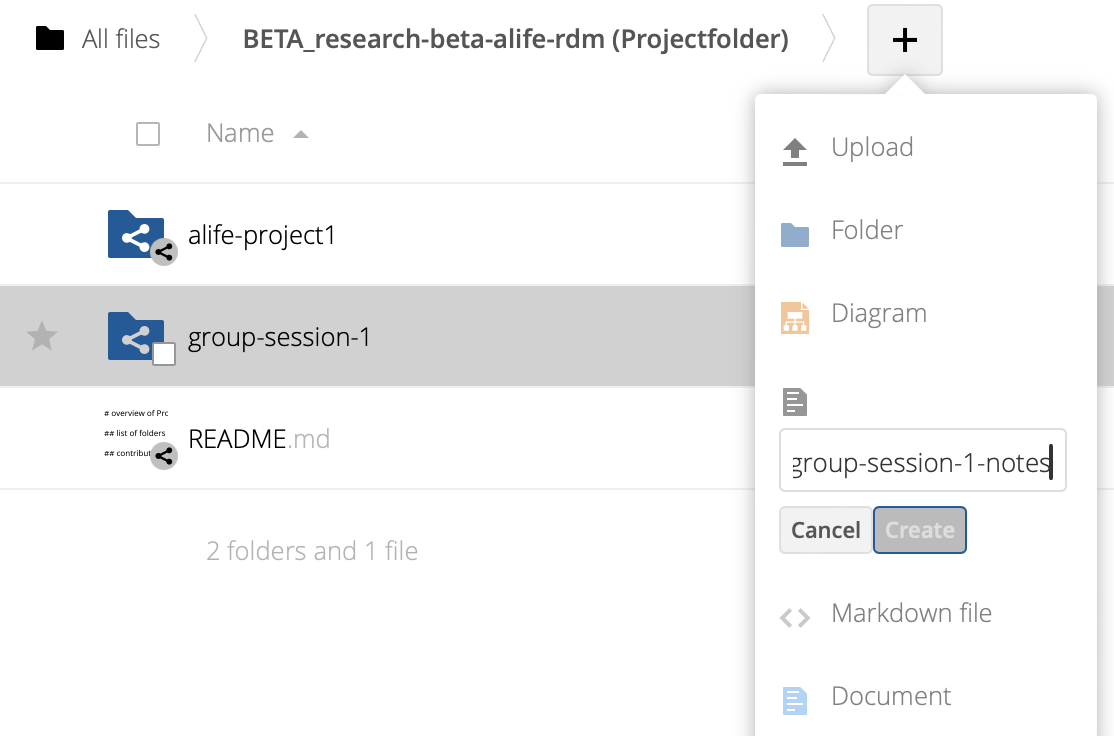
Creating and sharing folders is intuitive — the interface uses common icons for adding and sharing. The main folder (root) you see belongs to your project. Use the + button to create a new folder or add a file.
Organise your space before you upload data
 Check out Best Practices for organising your data in our Guides section to help you structure your project repository with a good naming and folder system.
1c. How to upload a file using the Web Interface
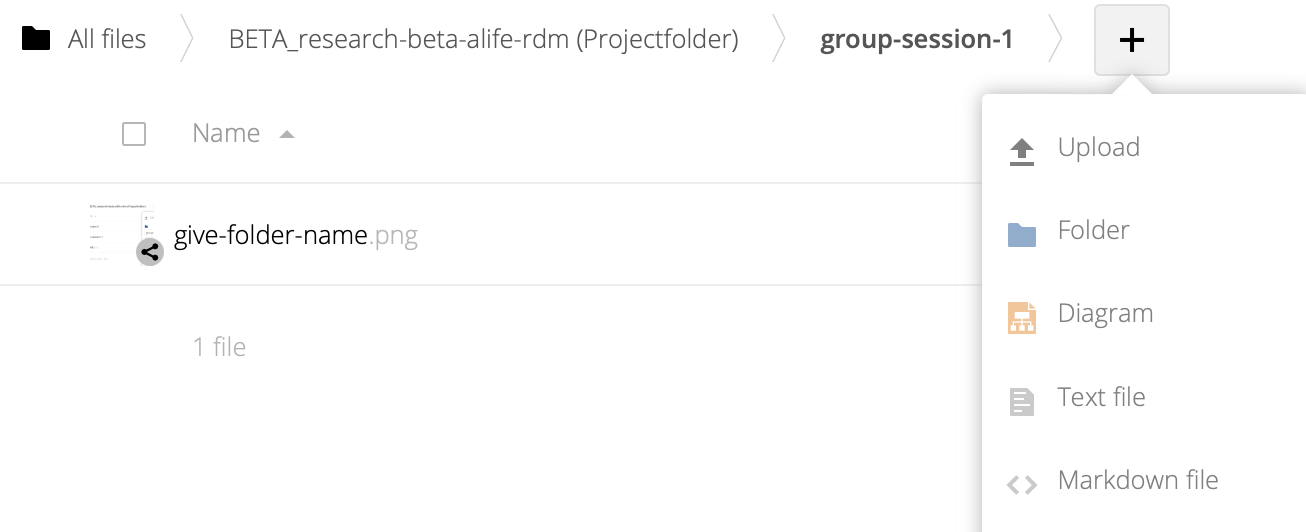
Drag a file from your device directly into the browser folder, or use the + add icon near the folder name and select the upload option.
Further reading
 2. Using Cyberduck to connect to Research Drive
Cyberduck is a free desktop client that connects to your Research Drive space via WebDAV, allowing you to upload, download, and manage your files with a simple drag-and-drop interface.
For a step-by-step guide on how to set up and use Cyberduck with Research Drive, see our manual:
Connect to Research Drive with Cyberduck
Verify data integrity with Cyberduck
Cyberduck supports checksum verification during file transfers. You can enable this in Preferences → Transfers to ensure your files have been transferred correctly and without corruption — especially useful for large datasets.
 3. Using the OwnCloud desktop synchronisation client
The OwnCloud desktop client automatically synchronises data between Research Drive and your laptop. If you have used SURFDrive before, it will feel very familiar.
- Download the desktop client from https://owncloud.com/desktop-app/
- Once installed, provide the server address for the VU Research Drive instance: https://vu.data.surfsara.nl
 4. Using Rclone with Research Drive
Rclone is a command-line tool for syncing and transferring files between your local machine and cloud storage. It is a powerful option for automating large or recurring data transfers to Research Drive via WebDAV.
Further reading
What next?
Once your data is uploaded, continue to Step 4 — Manage Group Members to add and manage access for your collaborators.