 Transferring Data in Zenodo
Overview
This is the Transferring Data page, part of Other Tools → Zenodo in the A-LIFE RDM collection.
This page covers how to upload your data files to Zenodo:
Authors: Irene Martorelli, Brett Olivier — Last modification: 2026-08-02 — Version: 0.1.0
 1. Checklist before uploading data to Zenodo
-
1. Decide what to publish
- Include only the data needed to reproduce or understand your results — not raw instrument exports or intermediate files unless needed.
- If publishing data linked to a paper, focus on what supports the paper's conclusions.
-
2. Check the number of files and size
- Maximum 100 files per dataset record.
- Maximum 50 GB per dataset.
- For larger uploads, see How to request a quota increase.
-
3. Use clear, consistent file names
- Avoid spaces and special characters (use
_or-instead). - Use descriptive names:
experiment1_results_2025.csvis better thandata_final_v3.csv.
- Avoid spaces and special characters (use
-
4. Package files correctly
- If you have more than ~20 files, ZIP them into a single archive before uploading.
- Remove hidden files (e.g.
.DS_Store,__MACOSX) from ZIP archives.
-
5. Prepare and include your README file
- Include a README that describes the content of your uploaded files.
- Provide the README in plain text format (
.mdor.txt) — avoid.docx. - Include it inside the ZIP file, or upload it separately alongside other files.
- Repeat the key README content in the Zenodo Description field so it is visible on the record landing page.
Always include a README
Include a README file as part of your dataset. See the Essentials — README section for templates and guidance. Read more about how to document your Zenodo record in the Metadata and Documentation section.
-
6. Select your preview file
- The preview file is displayed when someone accesses the DOI. By default, it follows alphanumerical order.
- Change the preview file by checking the Preview checkbox in the file list.
- If uploading individual files (not a ZIP), set the README as the preview file.
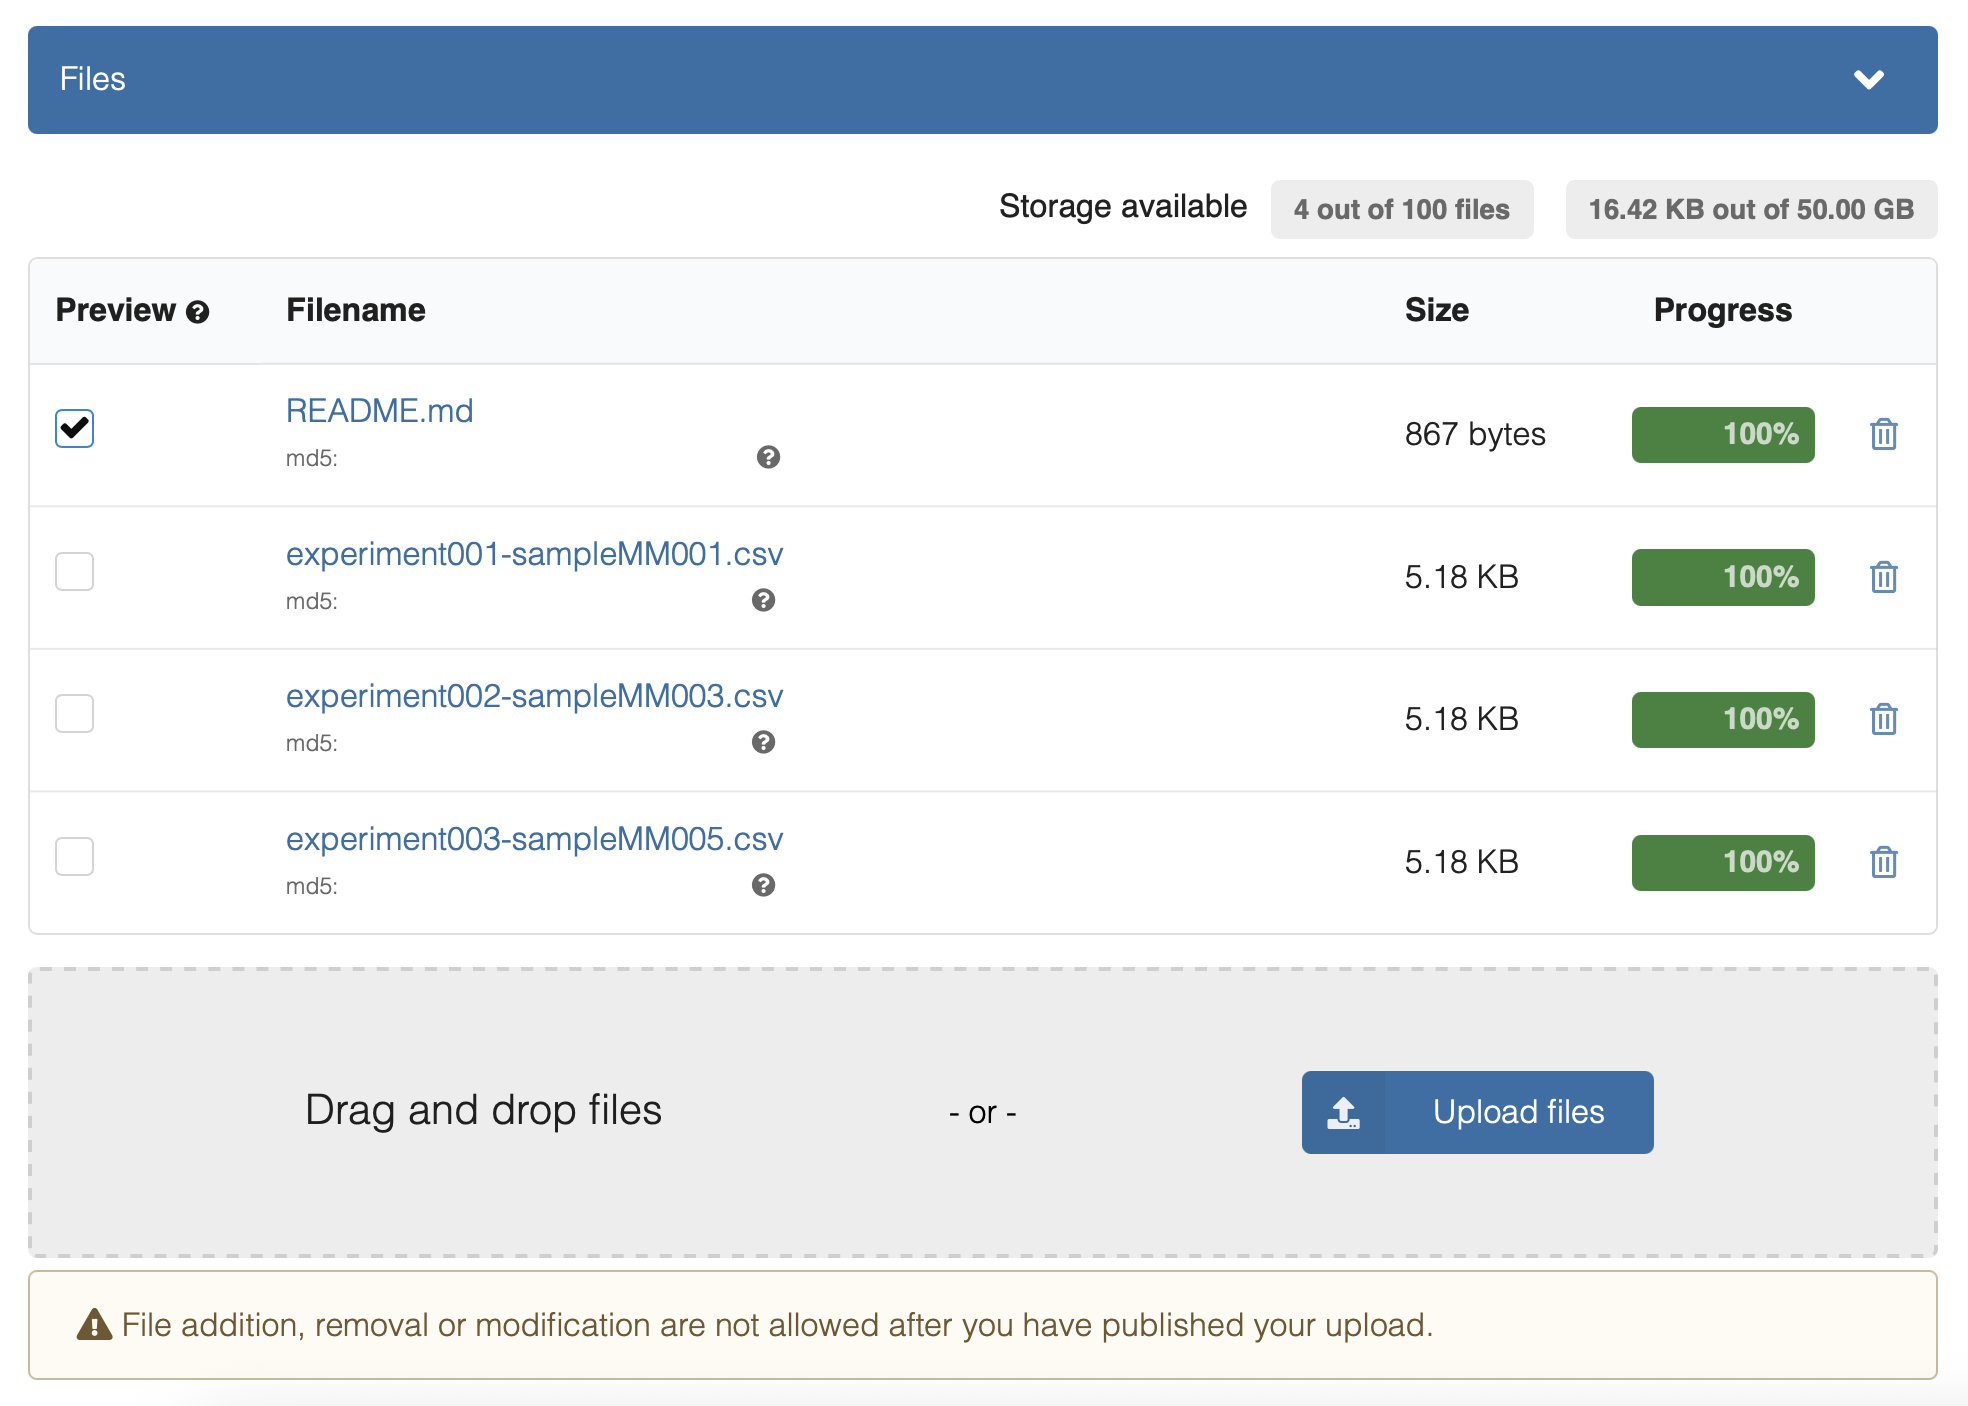
- 7. Check your data classification
- Confirm whether your data is Open, Restricted, or not suitable for public sharing.
- If your data contains sensitive or personal information, do not upload it to Zenodo without first consulting your data steward.
- If your data is set to
Open, make sure you are not accidentally sharing sensitive data — if unsure, check with your data management team before publishing.
You cannot modify data files after publishing
Once a record is published, you cannot add, remove, or modify data files. To make changes, you must create a new version of the record. See Zenodo — How to manage versions.
2. Upload data to Zenodo
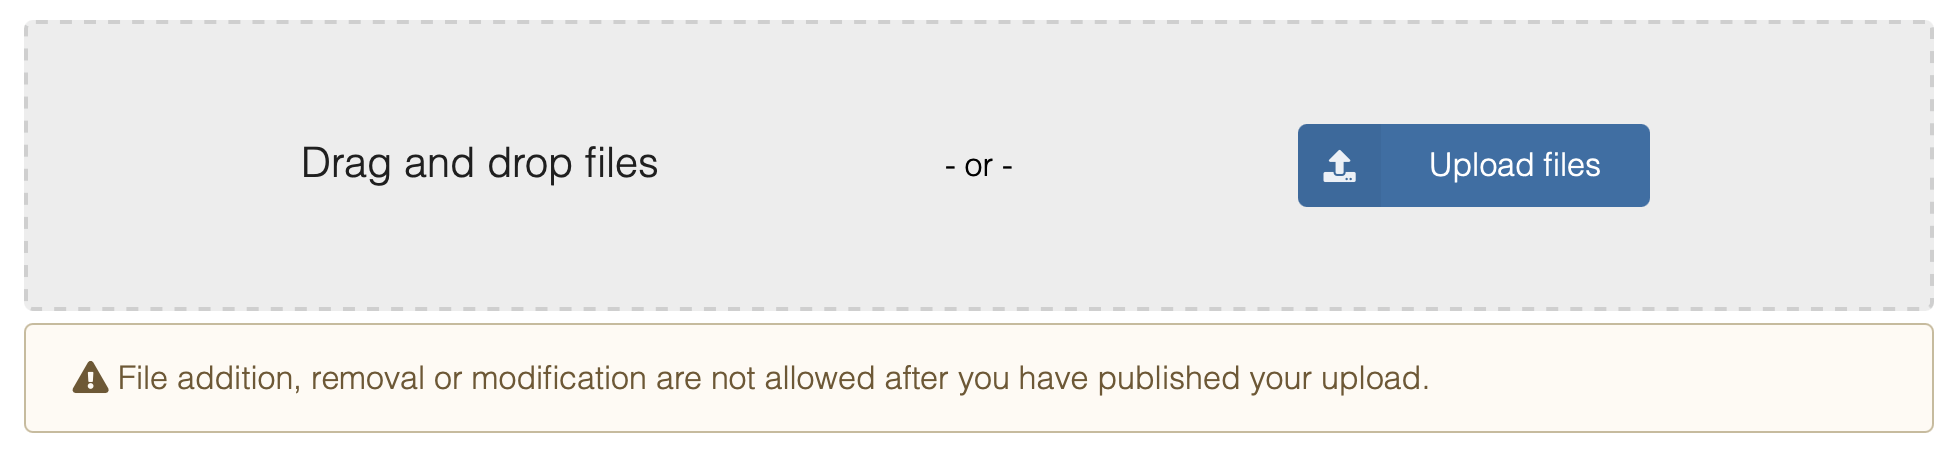
The New Upload option creates a new draft record. You will then see the Upload your files option — drag and drop files directly into the upload box, or use the file browser.

You can fill in metadata before uploading
You can fill in metadata before uploading all the data. The Draft option in Zenodo is seen like a Yoda research space, in which you can move and edit your data. Your record will remain as a Draft until you decide to publish and make the metadata/data accessible.
What next?
Data uploaded? Continue to Metadata and Documentation to complete your metadata form and add a README.