 Getting Started with Zenodo
Overview
This is the Getting Started page, part of Other Tools → Zenodo in the A-LIFE RDM collection.
This document covers the first steps for using Zenodo:
Supporting materials: FAQs
Authors: Irene Martorelli, Brett Olivier — Last modification: 2026-08-02 — Version: 0.6.0
 1. Pre-Requirements — Sign up
Already have a Zenodo account?
If you already have an account, please skip this step and go directly to the Login section to login to Zenodo.
1a. Register
To use Zenodo, you need a Zenodo account. Register here using your email address.
Use a personal email address
It is recommended to register with a personal email address rather than your institutional one — you may change institutions and lose access to your institutional account.
1b. Link your Accounts
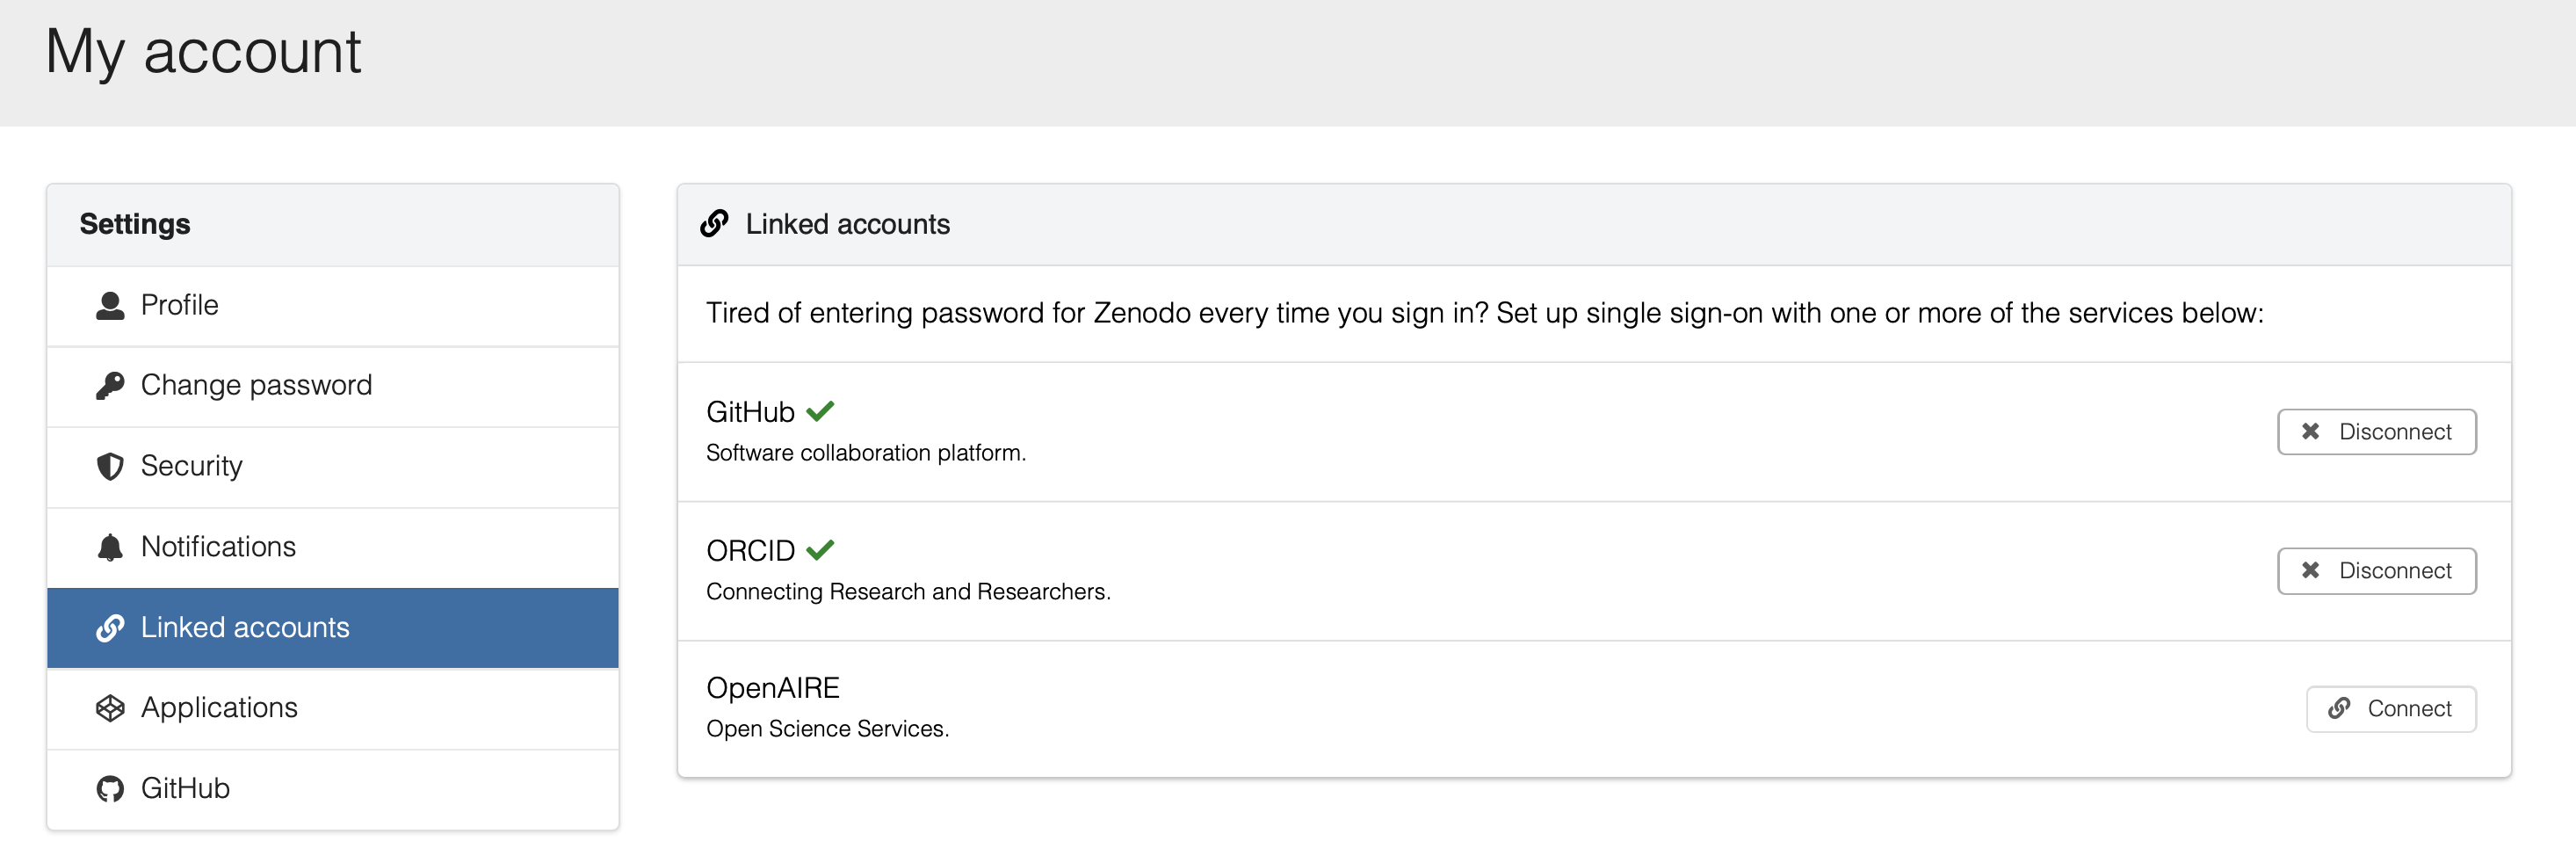
You can connect other accounts to your Zenodo account by selecting Settings → Linked accounts from the dropdown beside your email address. Available options are ORCID, GitHub, and OpenAIRE.
Recommendation
It is highly recommended to link your ORCID. Once linked, you can use it to log in and your author information will be auto-populated in new records.
 2. Login
Log in at https://zenodo.org using your email, ORCID, or GitHub credentials (if linked).
What next?
Account is now set up and are ready to go! Continue first with Step 2 — Organise your Data to prepare your files and folders before uploading your data.